A Living Wreath Project DIY
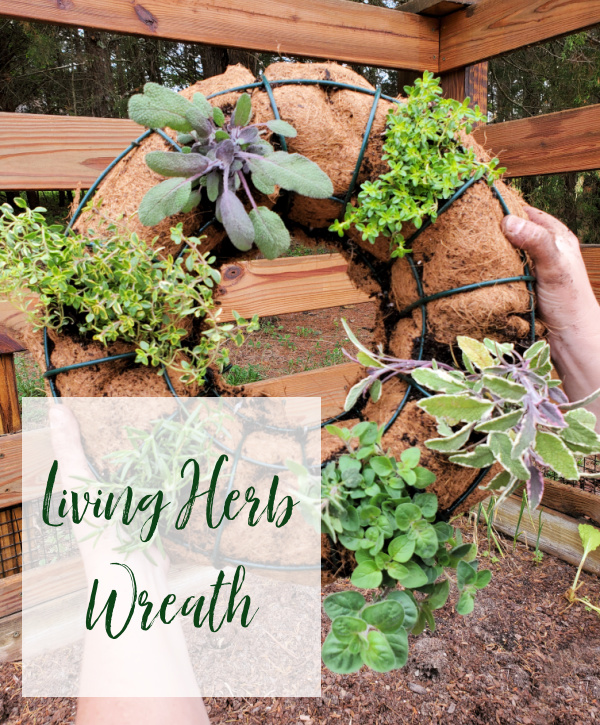 This living wreath is so easy to make, and it is a fun project to do yourself that would make a great gift also. They are lovely hanging on a patio door, or anywhere you can easily snip what you are needing for the kitchen.
For herbs, I picked low growing ones so it will be easy to maintain the living wreath shape: I purchased 2 of each in a carpet or crawling variety! However, you can use any type of herb that you prefer. Variegated Sage, English Thyme, Rosemary (the crawling type), and oregano are the ones we chose to use this time. If you have time, and wanted to, you could make the wreath starting with seeds rather than plants. Just leave the form laying flat until the seeds have germinated and started to grow.
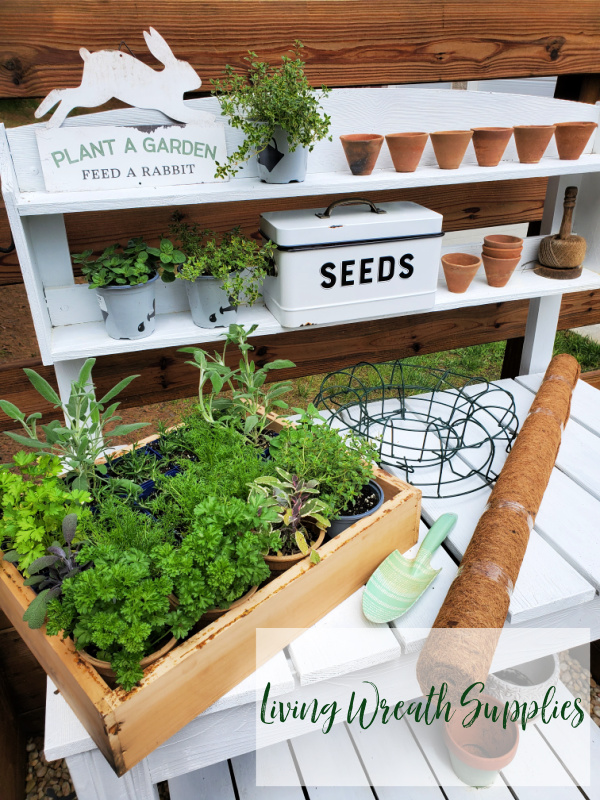
The living wreath form itself is a bit expensive to begin with, but remember, you can reuse it every year by only replacing the inner liner and the soil. I have listed a few that are available on Amazon now, but keep your eyes open in garden stores, antique shops, etc, and you may luck into some!
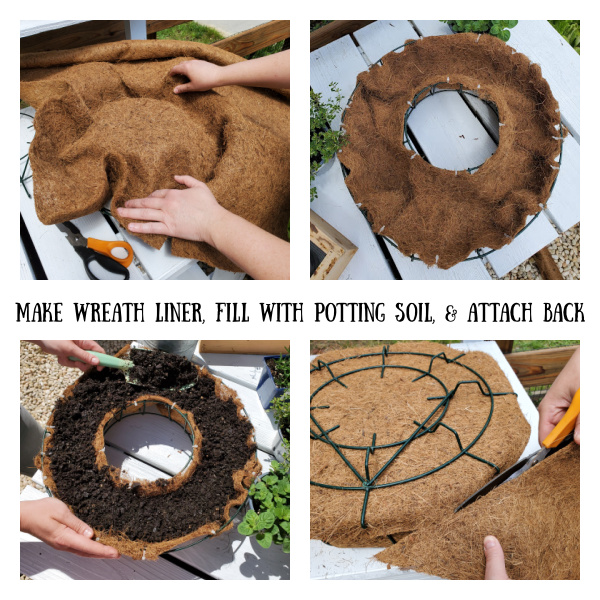
Step 1: Fill the living wreath form with potting soil, and pack it down slightly. You want there to be plenty of dirt inside this form so the herbs will grow, but don’t forget that the herbs have dirt around them already that will need to be able to fit inside the holes when you begin to plant.
Step 3: Flip the wreath form over, and sit it on a stable spot for planting.
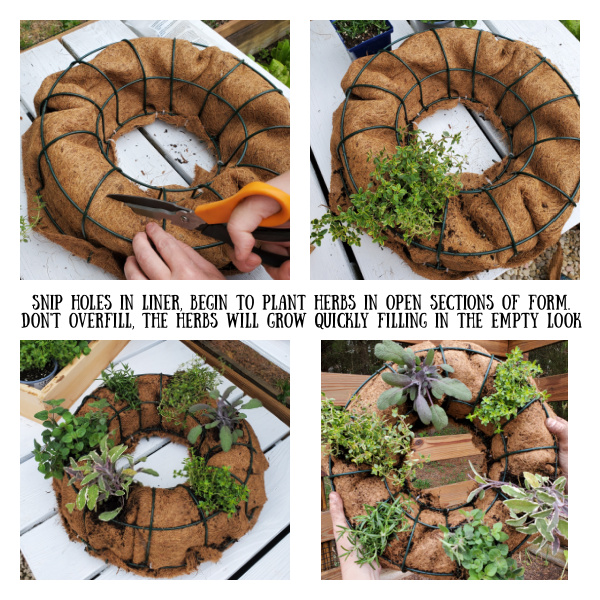
Step 4:. If you are using the liner that came with your form, the holes are already pre-cut. If not, you will need to cut the holes in the liner, in between the sections of the wreath form. Remove the herbs, one by one, from their pots, and slightly trim their roots to make it easier to work them into the holes on the wreath form
Step 5: Push your fingers into the holes and move dirt around to dig a hole large enough for the herb. Remove herb from the original pot, shake off excess dirt, and trim the roots if they are very long.
Step 6: Gently place herbs into this hole, and carefully arrange, make sure there is plenty of dirt right around the herb itself, and that the hole is full. If not, the roots will have a hard time growing. The plant itself may also fall out of the wreath once you hang it.
Step 7:Continue to repeat these steps, arranging the herbs around the form. I tried to place herbs that matched across from each other. Then I placed the rosemary in the center hole at the bottom. Once you are finished, leave the wreath laying flat for a few days, and water daily. This will help everything have a chance to settle and get arranged before it has to hang.
Step 8:These forms will dry out daily, so place your wreath in a location that will be easy to water! This form has a hook made onto the backing to help hang it, but I prefer using a nice piece of rope. It adds a rustic look, and makes it easier to move for watering! Don’t worry if it looks a little sparse to begin with, in a couple of weeks it will fill in nicely.
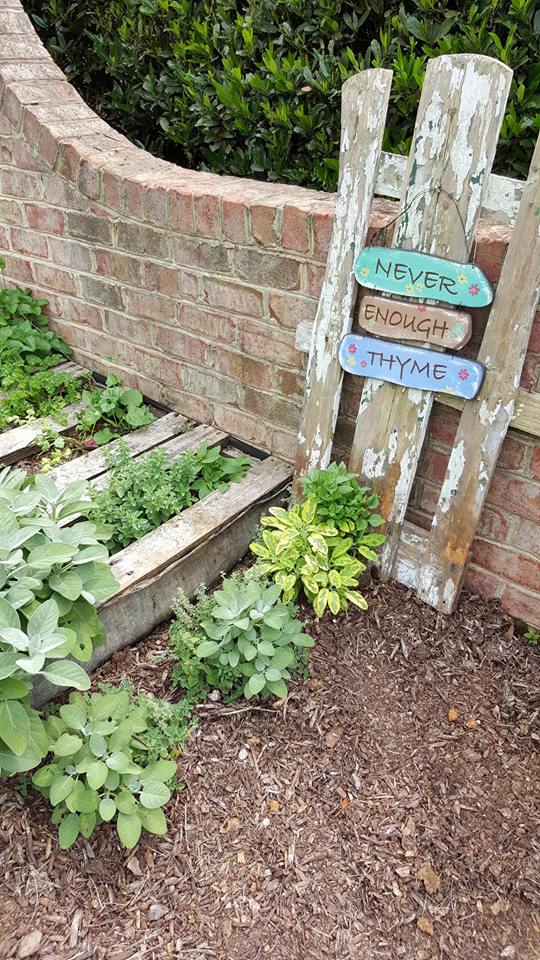
Update- Herbal Living Wreath, 1 month later- (This is a wreath from a couple years ago, if you noticed the different herbs. I will update this photo in a month with the current wreath.)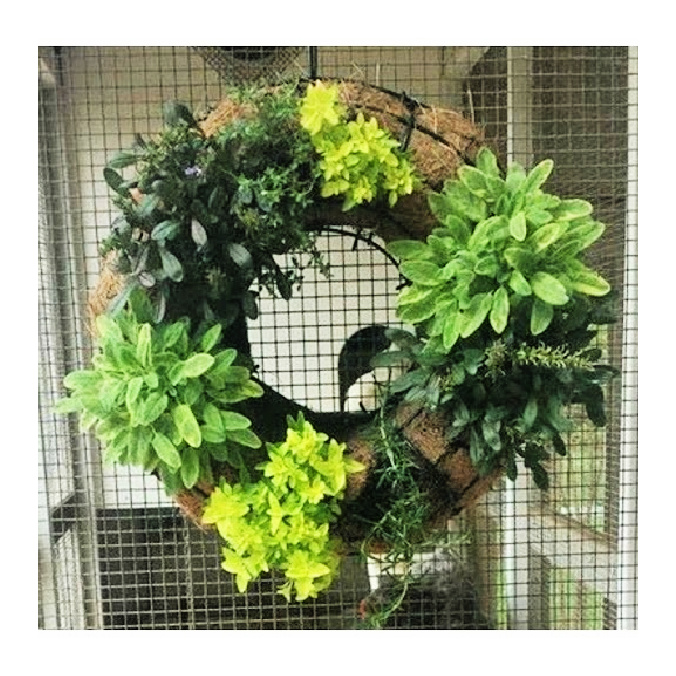
Here is an amazon affiliate link to some of the items we used to do this project. You may be able to find these items cheaper in a garden store if you want to shop around. We may make a small commission if you use these links to purchase the products. Thank you so much.


