Homemade 14 Day Icicle Pickles
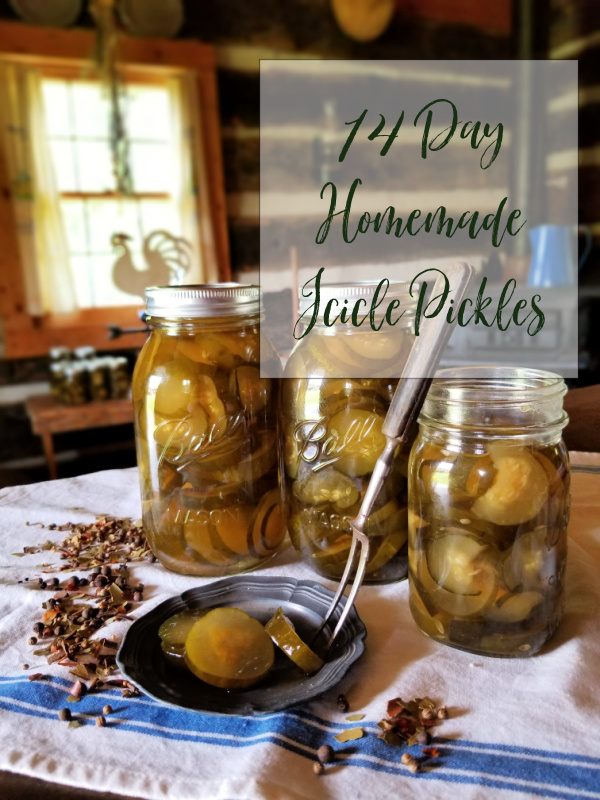
Every family has a secret recipe, right? I guess ours would have to be this pickle recipe. These Homemade 14 Day Icicle Pickles are what people ask for, over and over again. This recipe is not for the weak hearted or weak muscled. It is seriously no-joke. The recipe isn’t so much a secret as people would like to claim it to be, but no one wants to actually make it because of the time commitment. However, they love to eat them, and continually ask for them. The pickles are sweet, crunchy, and keep this beautiful color, but the pickle juice is what is magical. We use this juice, in addition to the chopped up pickles, in our potato salad and our chicken salad. We have also used this exact same recipe and ground it to make sweet pickle relish. Actually, so many people ask for these pickles, and they are not cheap to make, that we have been giving jars of them as Christmas presents. Are you sure you want to try this? If so, be prepared for your kitchen to be converted, for the next fourteen days, into a pickle factory. Here goes nothing!
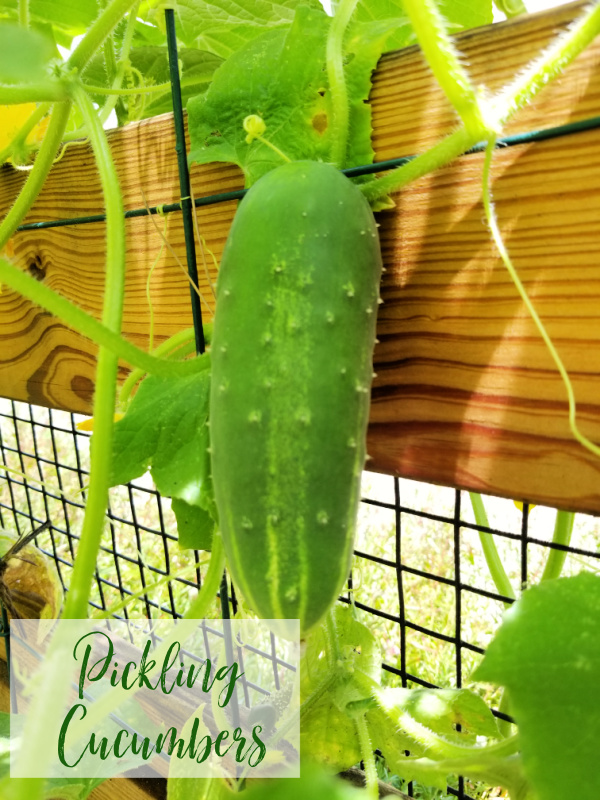
While we do grow some cucumbers, it is never enough to make this recipe. So, we find a local farm stand that has great cucumbers. You can technically use any cucumbers, but we like the small ‘pickling’ cukes, they are also sometimes called bush cucumbers. The bigger they are the more seeds they will have, so try to find nice sized ones that aren’t huge. If you tell the farmer what you are doing, they usually know what size is best.
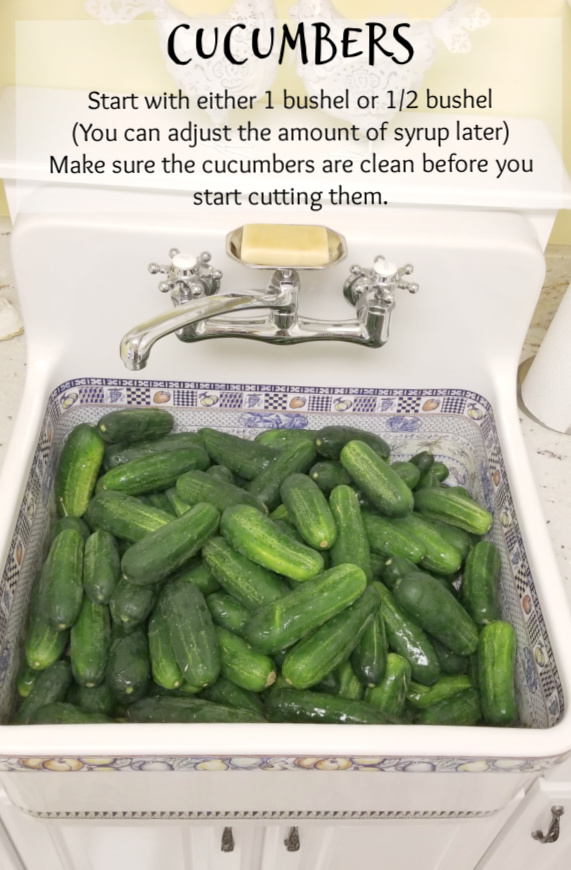
When purchasing your cucumbers, you will be attempting to buy them either by a bushel or a half-bushel for the best price. Here is some terminology for you, a full bushel is around 48-50 pounds, and will create at least 16 quarts of pickles, up to 24 quarts. This is decided by how tightly you pack the jars. A peck is only 12-13 pounds. Below, our sink is filled with one bushel of cucumbers, you would think it would be more than that, wouldn’t you?
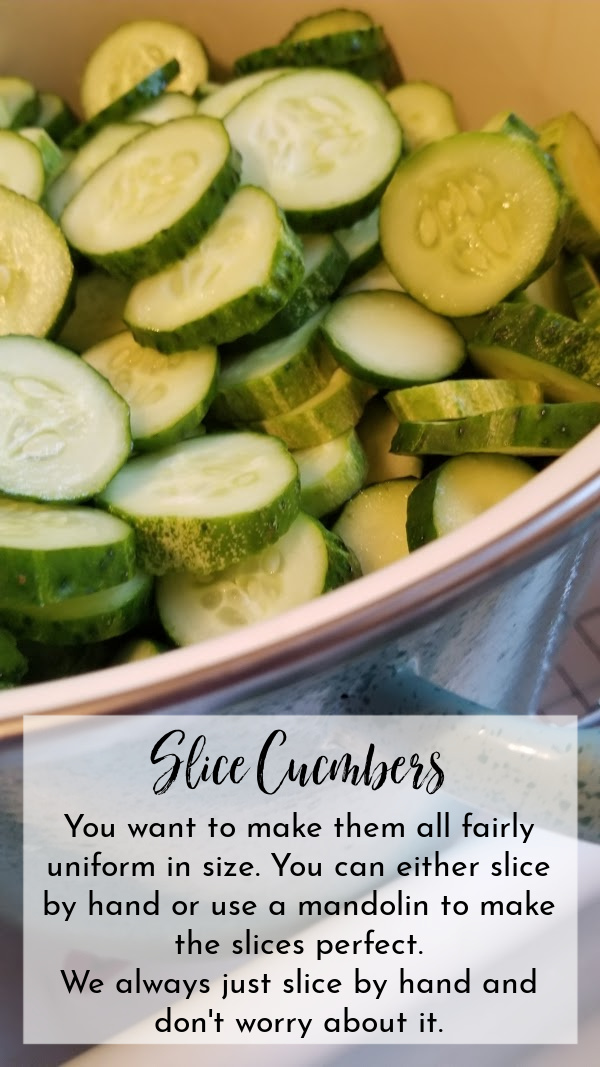
The first thing you are going to do after washing the cucumbers is to slice them. Cut each end off and slice them either by hand or a mandolin for more even slices. (You can make spears if you prefer.) You can slice them directly into the containers that will house them for the first 7 days. You will need either old time pickling crocks or food grade buckets from here on out. Keep weight in mind, because you will have more to do with smaller containers, but the large buckets are very heavy when you get them full. We use 5 gallon buckets, and it is extremely heavy once full of cucumbers and salt water/or syrup. It isn’t too bad the first seven days because they are brining in the salt water and you don’t have to move them, but the last seven days, you will be moving, emptying, and refilling these buckets every day. (Hint, you can usually purchase food grade white buckets with lids very cheap from Jersey Mikes. They have tons of them and generally will sell them for $1-2 each.)
So, here is where the recipe gets a bit tricky. You have to plan for more salt, and more syrup than the recipe calls for. You will need this to completely fill the container covering all cucumbers. The recipe is technically for 2 gallons of cucumbers, so you will need to multiply this out based on how many cucumbers you have. If you purchase enough ingredients, you wont need to worry about it. Just make another batch of salt water or syrup till you cover the cucumbers. Go ahead and plan for this to happen.
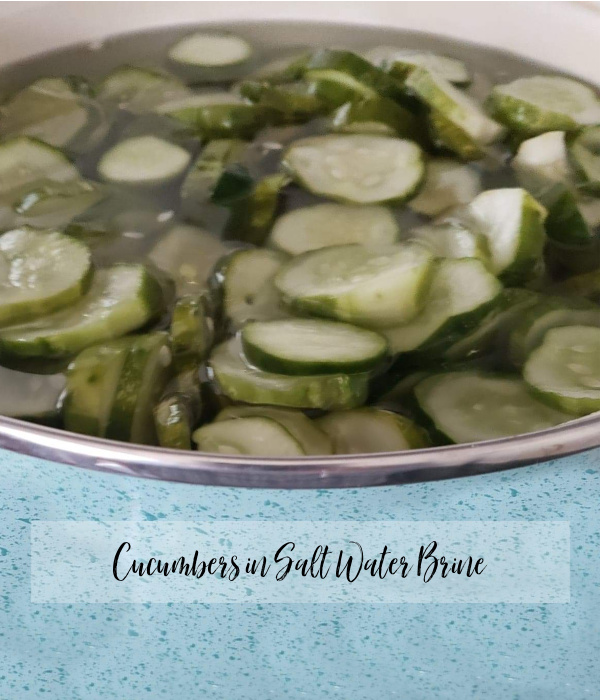
Now that you have your bucket or crock full of cucumber slices, we are going to move on to the next step. Your brine mixture is 1 gallon of boiling water and 1 pint of pickling/canning salt. I would go ahead at the beginning and double this. You may need more, but can make another batch if you do. Boil the water, stir in the salt, then pour over your cucumber slices. Keep making this mixture until your cucumbers are completely covered. At this point, you are done for the next seven days, basically. I hope you have a huge wooden spoon, because each day, you need to take off the lid or covering, and stir this mixture. Try to push the cucumbers on the top toward the bottom. Just a good stir, then pop the lid back on. On day 8, drain off all the salt water, and rinse the cucumbers off. We do this in the same bucket, and we rinse them several times to make sure we get the salt off. Now, you will start boiling the water again, but this time, you will add 2 tablespoons of alum per gallon. Completely cover the cucumbers in the boiling water/alum mixture and allow to sit for 24 hours.
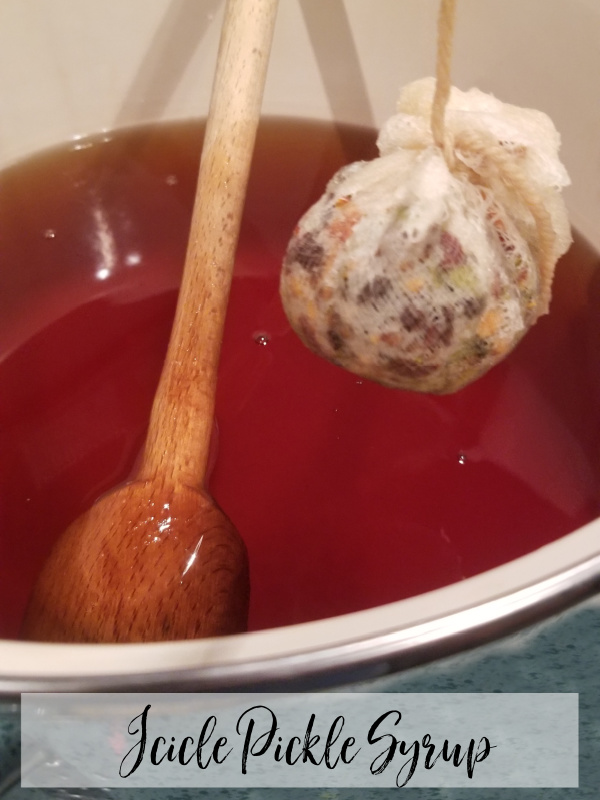
Now, we come to the “fun” part. The next 4 days are going to be interesting. Today, you start by draining off the alum water, and making your pickle syrup. The same thing goes here as it did for the salt water. I suggest doubling this batch to begin with, then if you need more, make it again. This is why it is important to purchase these items especially in bulk. I will buy approximately 25 pounds of sugar, several pounds of pickling spice, and several gallons of apple cider vinegar. Your ratio for the syrup is: 2 quarts vinegar, 8 pints sugar, and 1 box (bottle) pickling spices. Once again, you will adjust this ration based on how many cucumbers you have. You will get a feeling for it. Also, the pickling spices are placed in the cheesecloth bag, not free floating in the syrup. Bring the vinegar to a boil, stir in the sugar, and add the pickling spice bag, making sure all the sugar dissolves.
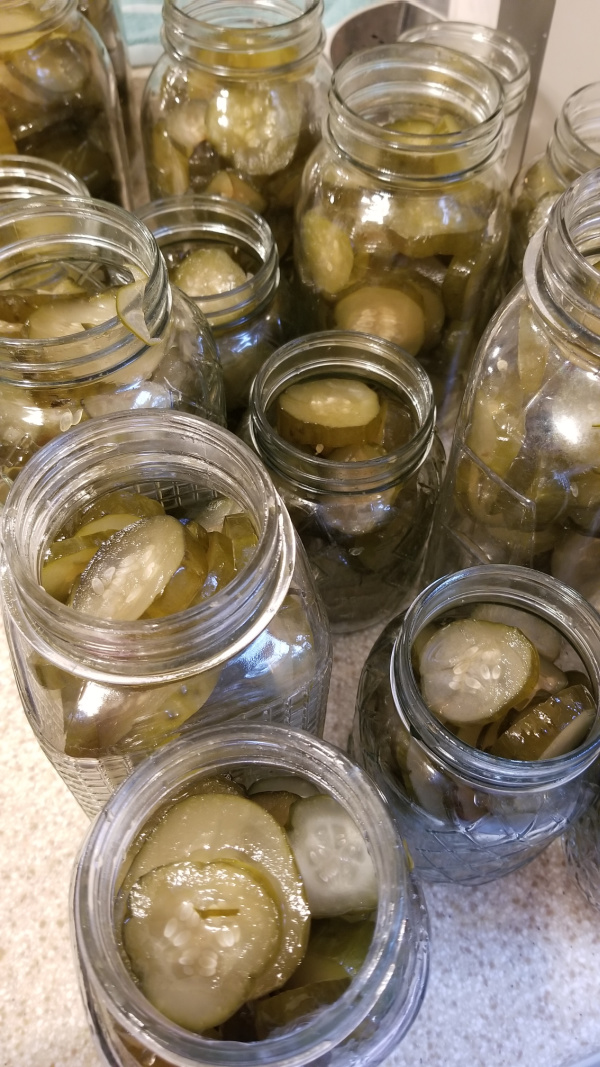
Over to the side, you should have your bucket of cucumber slices that have been drained of all liquid. Pour the hot syrup over the cucumber slices, making sure you have them completely covered. If it isn’t enough, make more. Once covered, put the lid, or a plate over the top of the bucket and set it to the side for 24 hours. The next day, bring your pot and the bucket of cucumbers to the sink. Pour the syrup mixture off of the cucumbers, back into your pot. Bring the syrup back to a boil, and pour back over the cucumbers again. You will do this for a total of 4 days. On the final day, you will drain off the syrup, and bring it to a boil again. While it is heating up, you will take your clean, sterilized canning jars and begin to pack them with the pickle slices. The tighter you pack them, the less syrup it takes, but it will also make fewer jars. The easiest way to sterilize your jars will be to run them through the dishwasher on the hot cycle and allow them to dry with the steam also. I do this the morning I am going to use them, so the jars are still hot when I begin canning.
Take a small pot, and boil your lids and rims while the syrup is still boiling. Using a metal ladle, begin filling the jars with syrup, once again, you need to completely cover the slices, so don’t overfill your jars. With a hot, wet cloth, wipe the rims to get off any you may have spilled or splashed, and use tongs to get the lids and rims straight from the boiling water. Place the lid on the jar, and immediately tighten the rim down. (This would be considered a modified water bath version of canning. It is NOT suitable for canning everything, but since the pickles are canned in vinegar it preserves them safely.) Repeat this same procedure until all your jars are finished.
Now we wait….Within a few minutes- up to few hours, the jar will begin to make a popping sound as they seal. After a few hours, test the lids, if you push it down and it moves and pops back up, the jar didn’t seal properly. If there is no movement at all, it has sealed. Any jars that don’t seal, you have two options for. Reopen, drain the syrup, reheat, syrup, lid, and rim, and try again, or place in the fridge and use those first. They will still last for months in the fridge with no problems. Here is a video so you can hear the ‘pop’ sounds as the jars seal themselves.
Here are a few items that we use to make this process a bit simpler. Sometimes having the correct tools will make all the difference.
These are affiliate links, and you can definitely find some of them in your grocery store, but at least you can see what you are looking for.