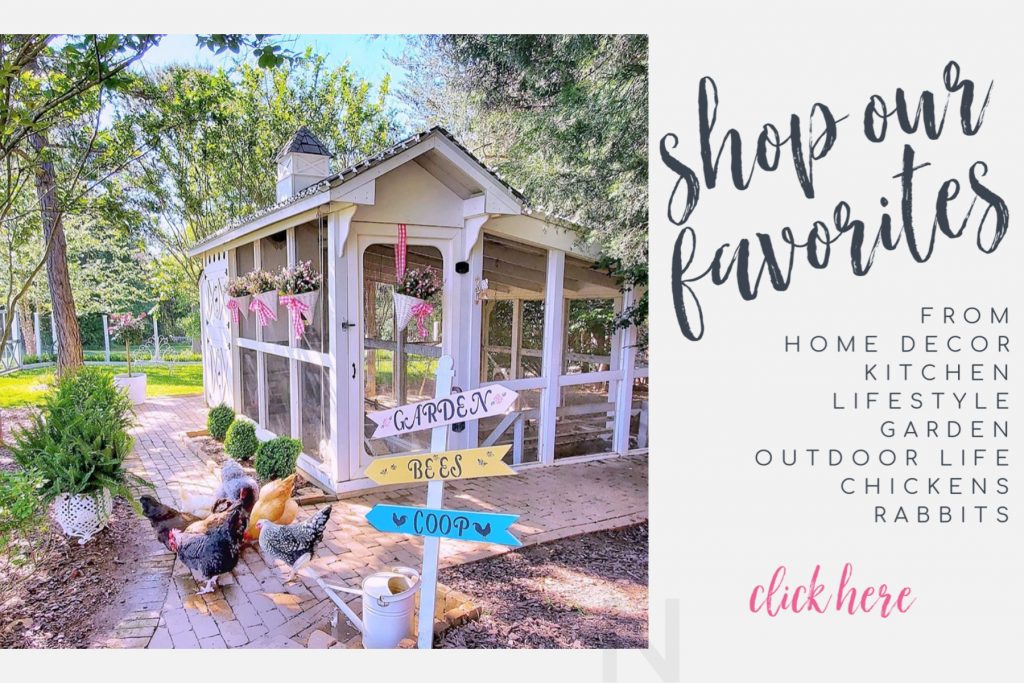
The Chicken Coop at Happy Days Farm
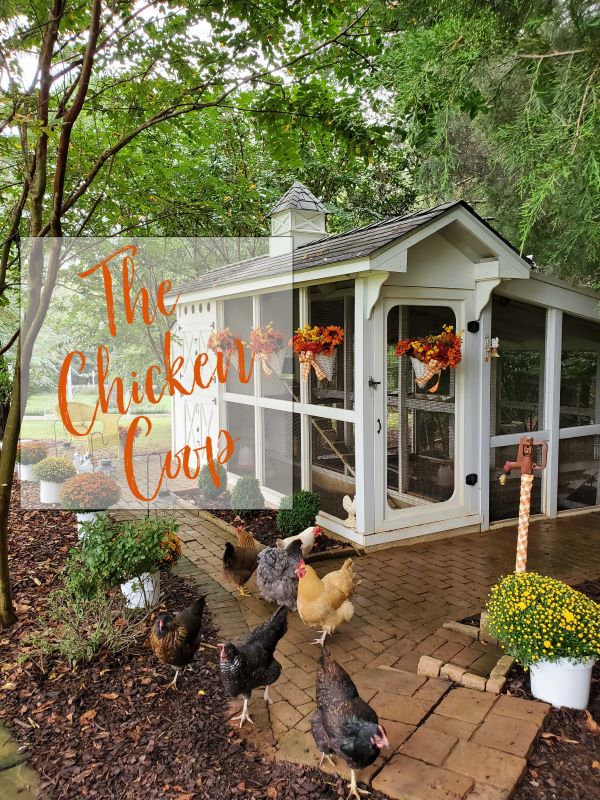
Happy Days Farm literally started with a chicken coop. There was a variation of this coop in an issue of Country Living magazine years ago, which featured the design by Heather Bullard. We purchased these plans, made a few modifications to make it suit our needs, and watched as it slowly sprang to life.
The coop itself is made with vinyl coated wood to make it lower maintenance, the wire you see is 1/2 inch vinyl coated, welded wire. The size makes it very hard for predators to get their paws around it, vinyl coated helps keep it from rusting, and welded wire gives it more strength. The brick patio surrounding the coop adds another layer of protection from predators who would attempt to dig into the coop. You can also notice there is a concrete footing around the coop. This concrete goes down into the ground around the perimeter of the coop to a depth of about 12 inches. When planning to build your coop, I would suggest attempting to put in a water source close by. Whether you believe it or not, this saves so much time and energy. A few times, this pipe froze up, and we had to haul water from the house. I was shocked at how much time I spent simply carrying water to the coop twice a day.
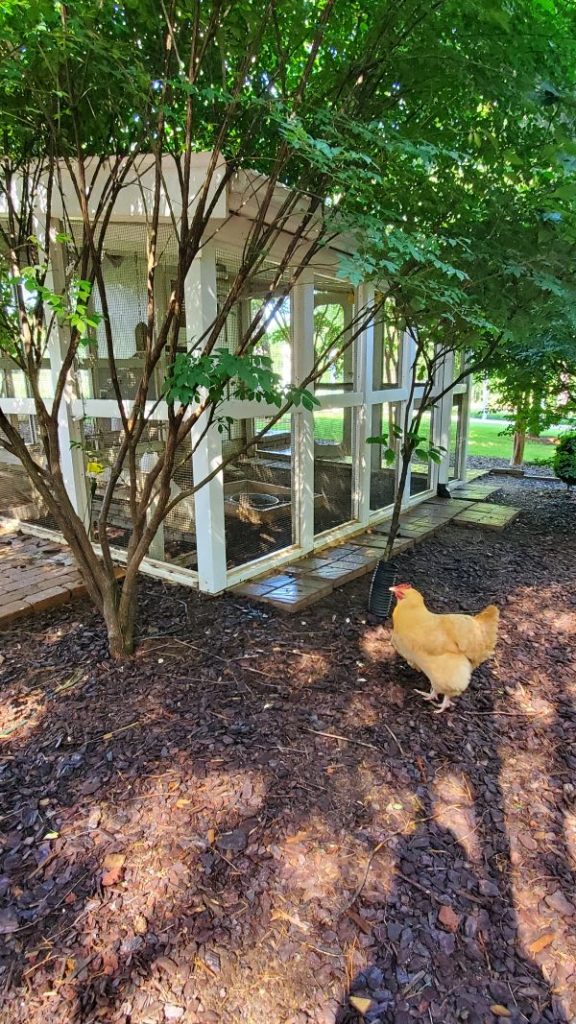
One of the changes we made to the original plans is the adding of this back run. We wanted a larger area that the chickens could move around in if the weather was bad. It also allows them room in the mornings when they first get up. The extra room also helps them not be crowded too close to each other. Overcrowding can lead to bullies and hens getting picked on.
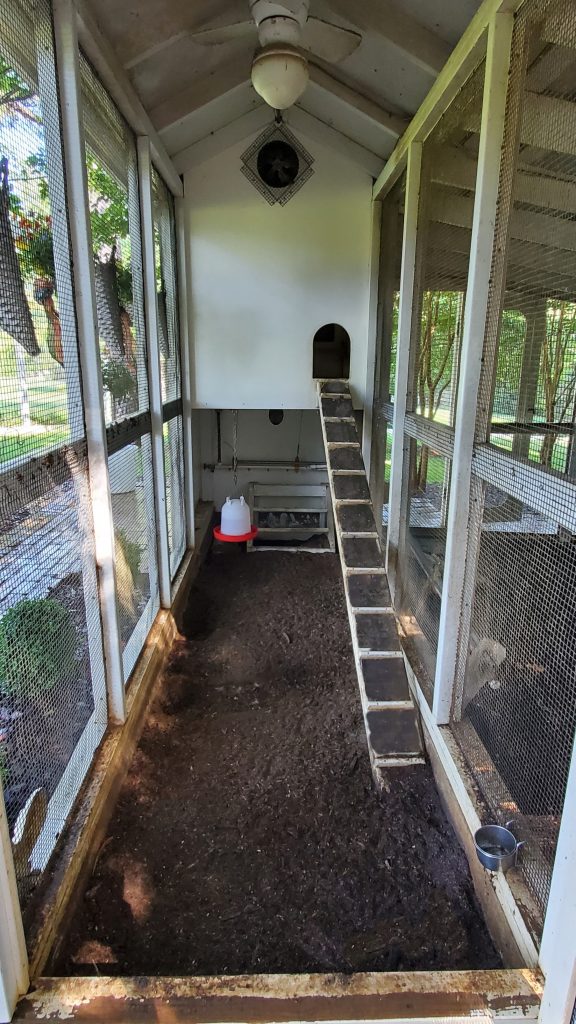
So, this is the front run of the chicken coop. This was part of the original chicken coop plans, we made a couple changes. We made it taller, and added an additional section to enlarge the area. From this point, you can see the ladder heading up to the nesting/roosting area, as well as the exhaust fan that we installed. There is also a ceiling fan in both the lower and upper runs to help keep air moving, especially during the summer months.
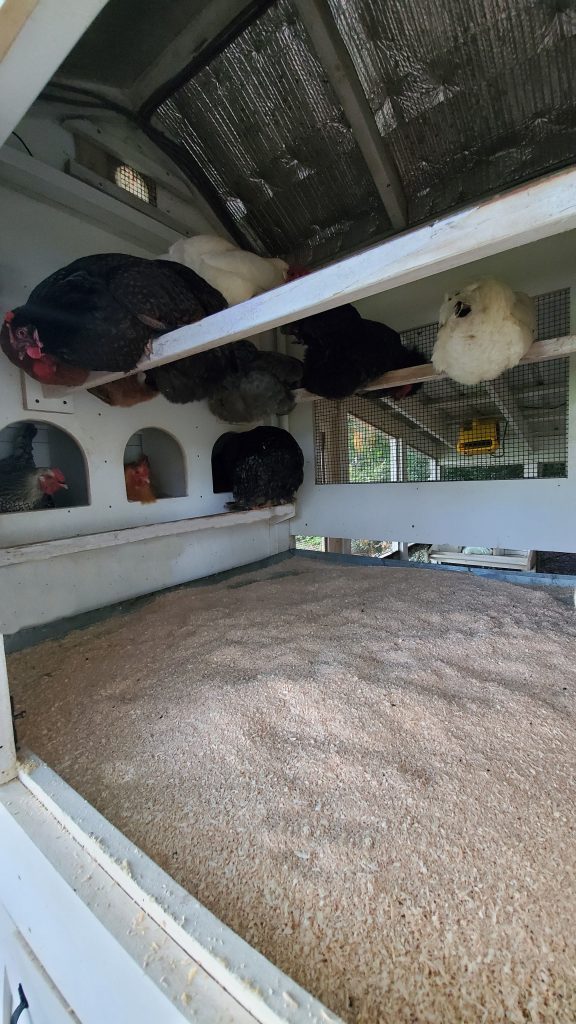
The nesting boxes and roost area are combined here. One change that we made to the original plan came a couple years after we built the coop. We live in North Carolina, and our summers can be extremely hot, both day and night. The original plans had a solid wall in the back side of the roosting area, but we decided to cut it out, and add the 1/2 inch vinyl coated welded wire. This opened the box up and added some much needed, additional ventilation. We still have the original wall piece, and we put it back in when the weather gets cold.
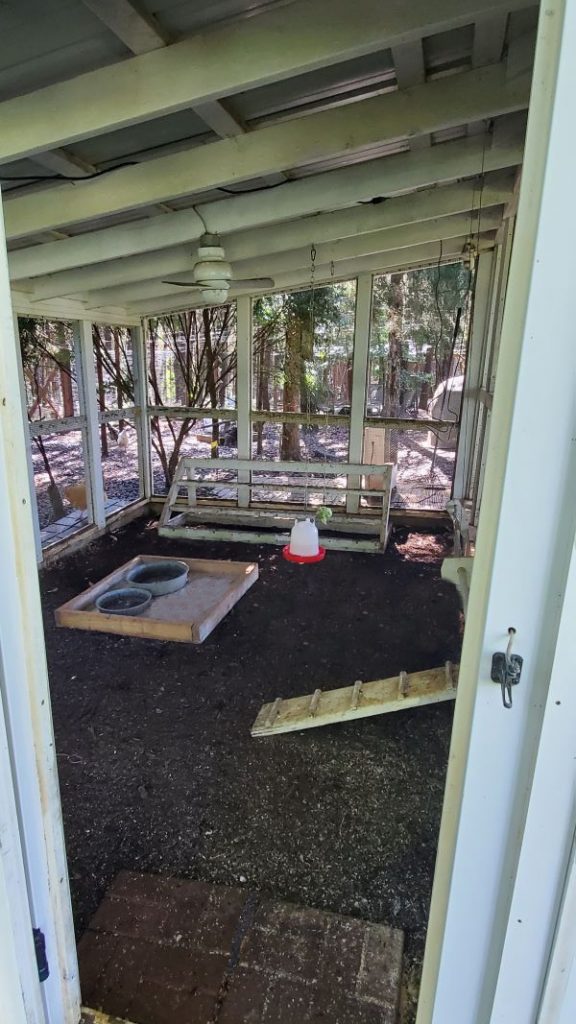
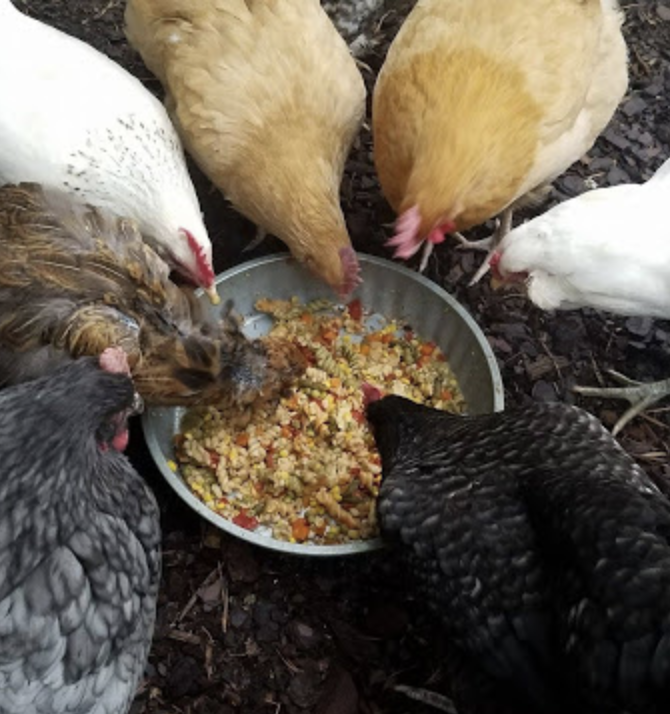
The lower run at the chicken coop is basic. As you can see, we keep food/water in this area, and a large roosting bar setup. A ceiling fan was installed so it could gently blow during the summer and keep the air moving in this area. Not only does this help keep the coop a bit cooler, but the light, constant breeze also is a deterrent for flies.
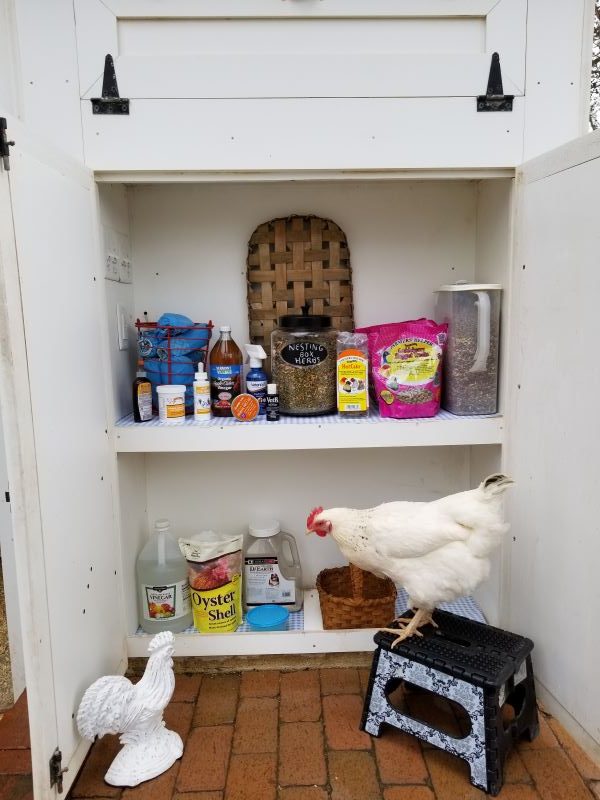
On the end of the coop, we have a small storage area. It also has an electrical outlet and the light switches. This is a great spot to store all those things you need everyday.
For something a bit different, here is a video we created giving a tour of the chicken coop area, as well as the fencing!
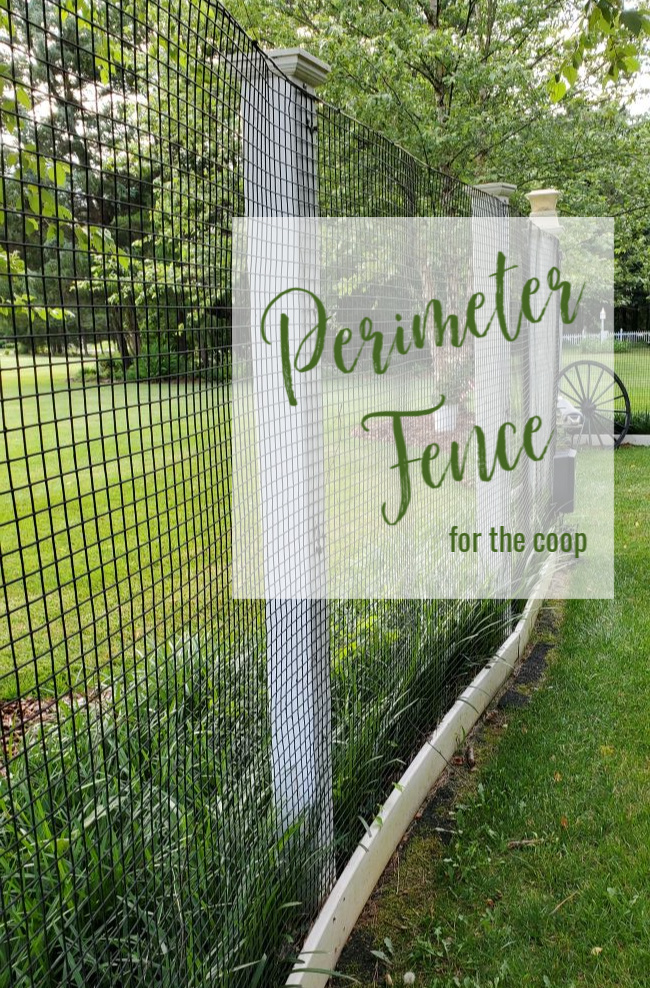
Want to learn more about our coop area? Here is a link to the perimeter fence around the entire complex.

One Comment